Tinycast, a new macOS Spotlight alternative on steroids
Learn about Tinycast as Spotlight alternative - first setup, settings, use cases with app launcher, timezone conversation and emoji search. Migration and dotfiles automation included.

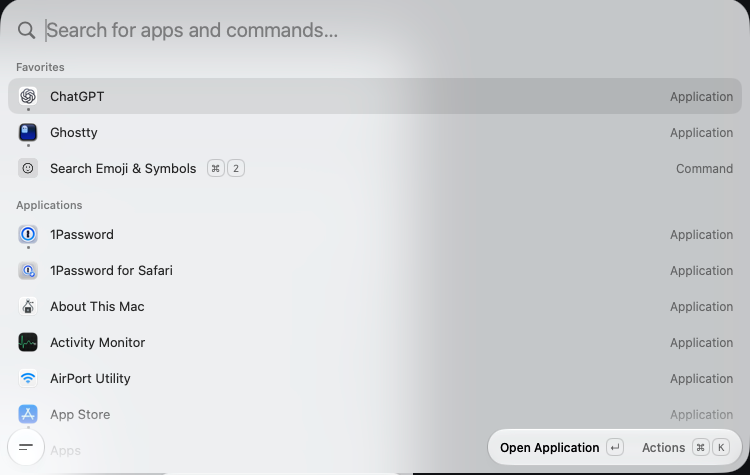
My new personal MacBook is my "learn new tools and habits" environment - Ghostty, Starship, neovim, Codex ++. This week, I learned about Tinycast as a macOS Spotlight Open Source alternative, and was curious to try it.
I just switched from Raycast to Tinycast! 🚀 https://t.co/0fPelivZcP
— Daniel Lockyer (@DanielLockyer) September 15, 2026
What is Tinycast?
Think of an app launcher and file search like macOS Spotlight, but on steroids with customization for keyboard shortcuts, commands and extensibility through community plugins. Press cmd + space to launch and search for actions, settings, files, and much more.
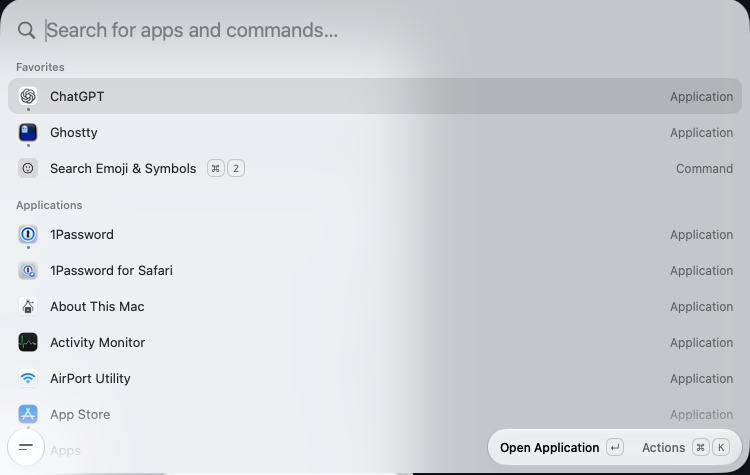
Over the years, multiple alternatives to Spotlight were launched, adding more automated workflows and customized actions. I started using Alfred in 2015, and switched to Raycast in 2021. My use cases included fetching API data, locking my screen (cmd space, l, enter), and inserting emojis into text, where the "start : emojiname" auto-complete doesn't work (e.g. outside of Slack/GitLab in Google docs or raw Markdown).
Tinycasts's fast performance and small memory footprint sounded promising to try.
Install Tinycast
Tinycast is available on macOS and requires Homebrew. Tip: If you are new to Homebrew, follow their website with the one-line installer on the terminal.
Open a new terminal and install Tinycast:
brew trust --tap abue-ammar/tinycast
brew install --cask abue-ammar/tinycast/tinycast
Run Tinycast
Start Tinycast from the Applications folder in Finder, or using the existing Spotlight quick search.
The first run walks you through a series of setup steps:
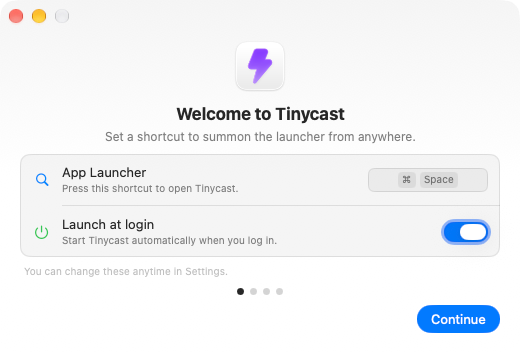
- Record a keyboard shortcut for faster access (highly recommended).
- Tip: If you are using Spotlight on
cmd space, you need to remove its keyboard shortcut in the setting first. Alternatively, you can choose a different shortcut likeoption spaceto get started with Tinycast in parallel.
- Tip: If you are using Spotlight on
- Launch at login (yes - highly recommended)
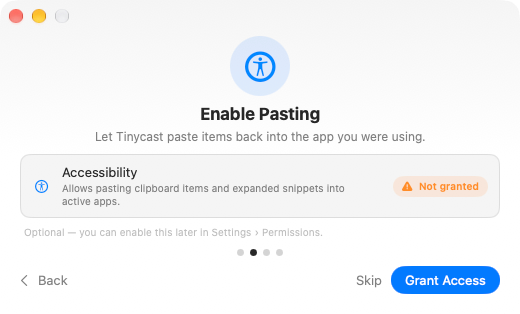
- Enable Pasting in Accessibility system settings (highly recommended)
- Import from Raycast (optional)
First steps with Tinycast
After the setup, familiriaze yourself with the app - everything happens in one screen. Continue typing for auto-completed search, select with cursor keys, enter to run and cmd k to inspect actions.
Start the search for Settings to inspect all options.
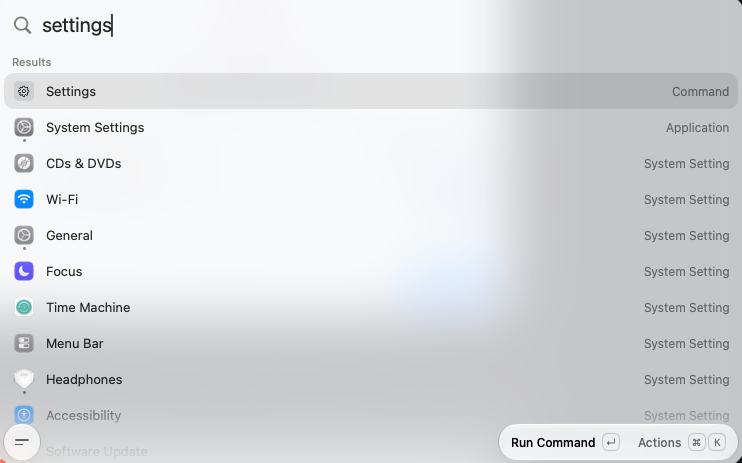
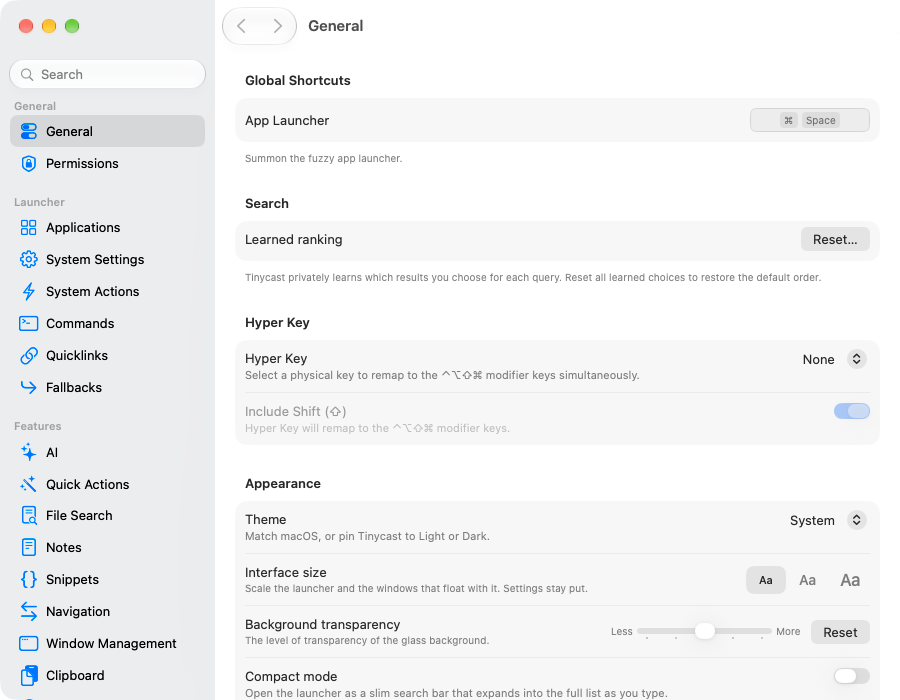
There's a lot of things to configure. My recommendation is to leave the defaults and start exploring.
App launcher
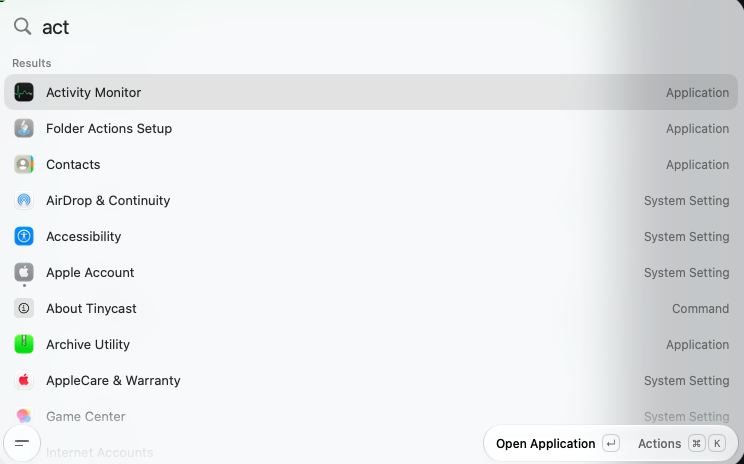
Open Tinycast and search for apps to open. I often need the activity monitor, storage, or just empty my trash bin. Note: This works with Spotlight too.
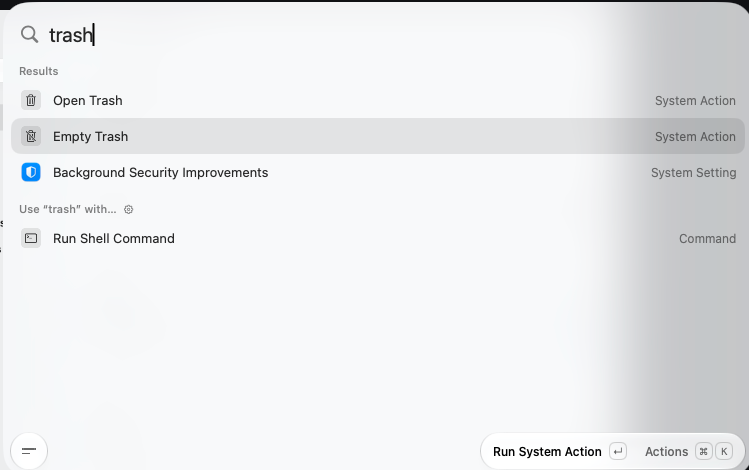
You can also run shell commands with Tinycast, or customize commands in the settings, including a recorded keyboard shortcut.
Calculator, currencies, timezones
Convert currencies, calculate math expressions, etc.
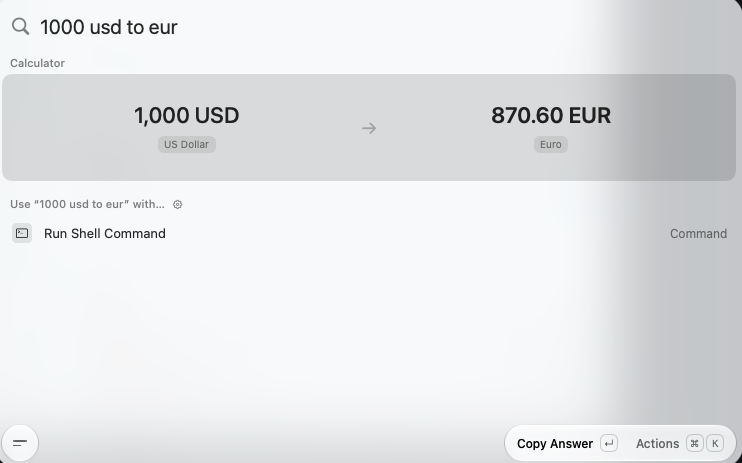
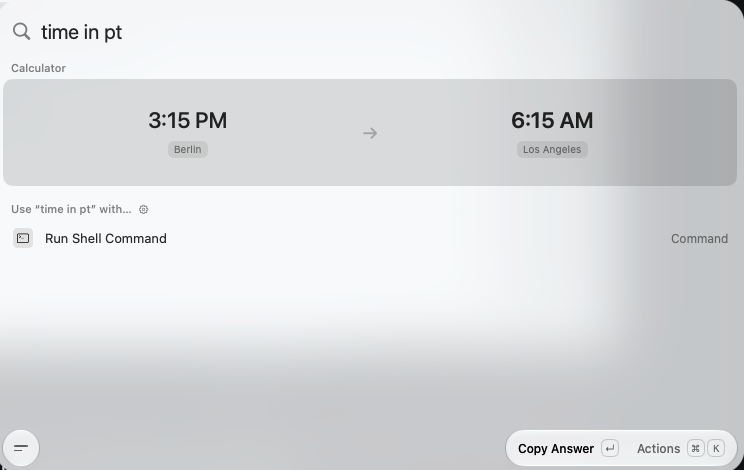
Check the time in different timezones.
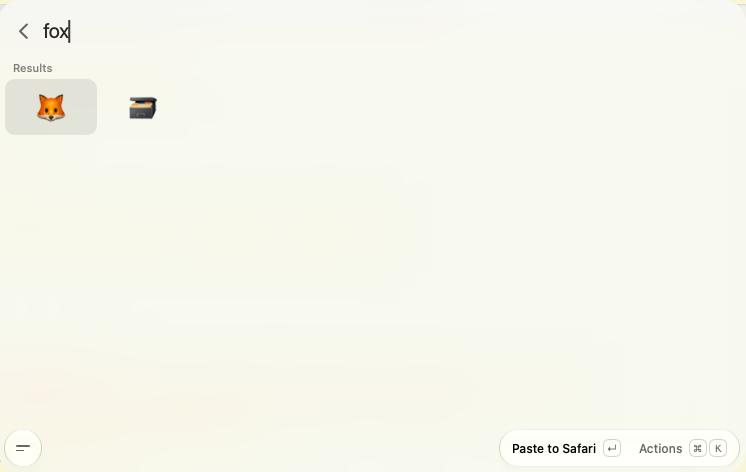
Emoji search
Open Tinycast and search for emoji and select Emoji & Symbols.
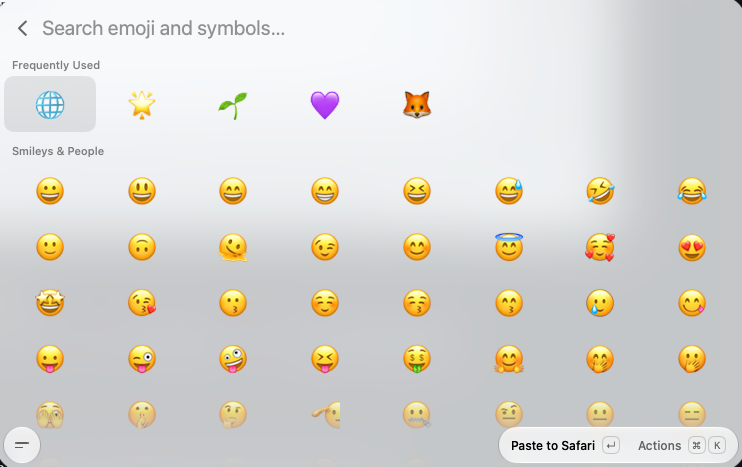
Enter immediately inserts the emoji in the open application. cmd Enter stores it in the clip-board for later cmd v paste.
Tip: You can also record a shortcut, saving one select click each time.
Open the settings and navigate into Emoji & Symbols . Record a new keyboard shortcut. I adopted cmd 2 in 2021 and stick to it. (cmd 1 is Zoom unmute).
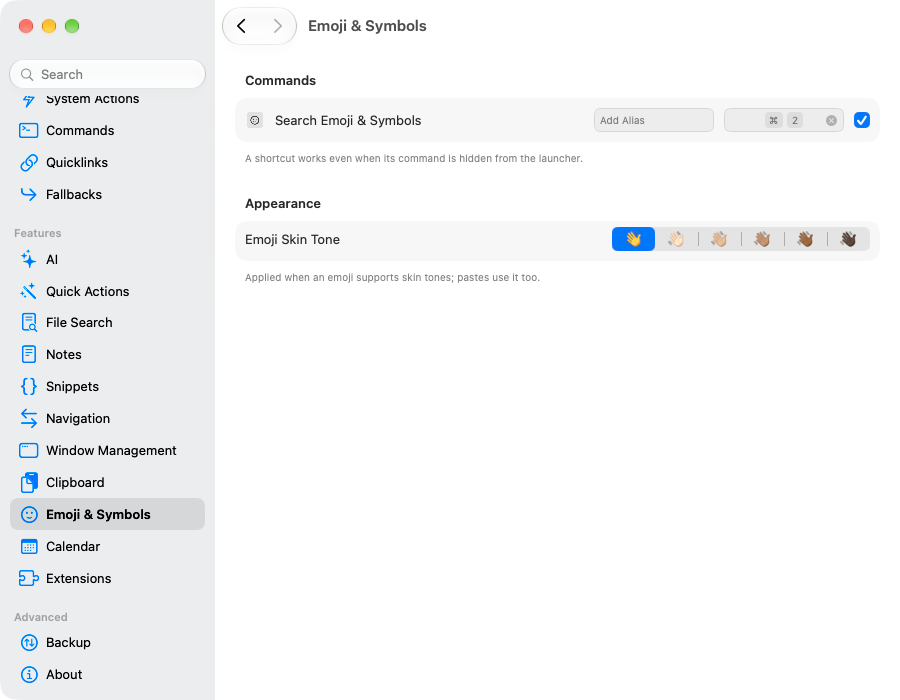
Whenever you need an emoji, press cmd 2 and search.
Migrating from Raycast
Tinycast supports the Raycast configuration and can import a backup. Open Raycast and search for "Export Settings", and store the password protected file. Then point the first time setup for Tinycast to the .rayconfig file.
After everything works, you can uninstall Raycast. Make sure that your terminal has access to deleting system files in System Settings > Privacy & Security > Full Disk Access.
sudo rm -rf /Applications/Raycast.app

sudo rm -rf ~/Library/Application Support/Raycast \
~/Library/Caches/com.raycast.macos \
~/Library/Preferences/com.raycast.macos.plist \
~/Library/Saved Application State/com.raycast.macos.savedState
Automated setup with dotfiles
My new MacBook setup is automated with Homebrew and settings symlinks, so-called "dotfiles repository". I have been working with ChatGPT and Codex to develop this new idempodent setup, and I am very happy with it after 1 week (more blog posts to come).
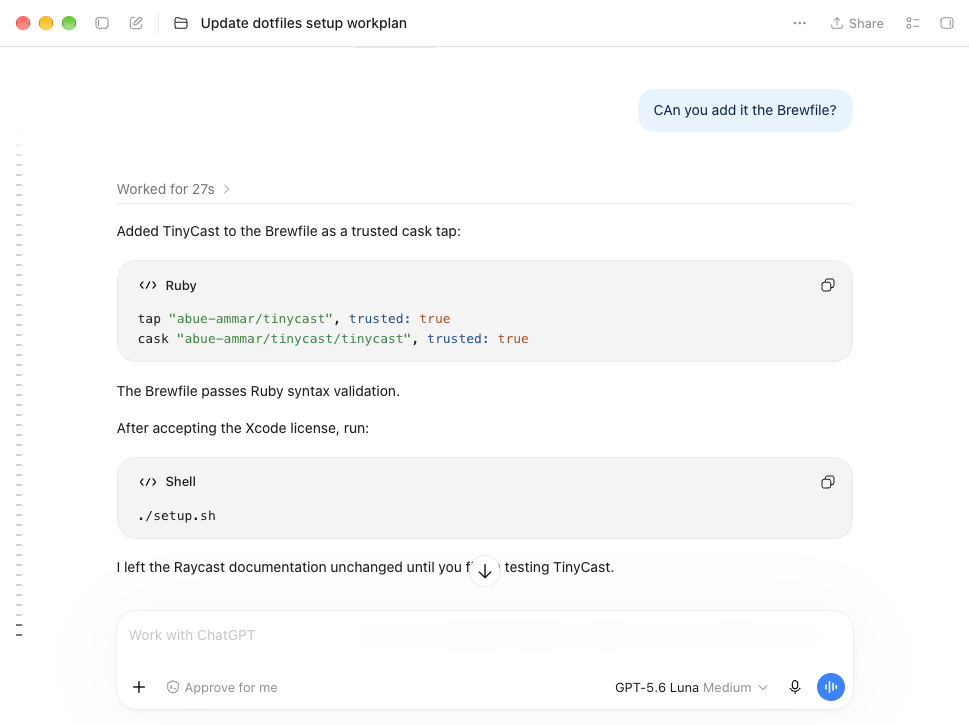
Homebrew packages are managed with a Brewfile, listing applications and CLI tools to install. Think of a Gemfile for Ruby, or requirements.txt for Python.
I recommend creating a "dotfiles" repository, and put a Brewfile there, next to a README.md file. You can also fork my repository and adapt it to your needs.
mkdir -p ~/dev/workstation/dotfiles
cd ~/dev/workstation/dotfiles
touch README.md Brewfile

vim Brewfile
Tinycast requires a Homebrew tap (custom repo) and cask (application with UI) in Brewfile:
tap "abue-ammar/tinycast", trusted: true
cask "abue-ammar/tinycast/tinycast", trusted: true
Save the file. Open terminal in the same directory as Brewfile and run the following command to install Tinycast:
brew bundleConclusion
Tinycast is a great alternative to Spotlight and Raycast. It immediately felt familiar to my workflows and habits. Subjectively, it is faster to use, and comes with easier settings UX.
Looking forward to see it thrive as Open Source project. Let's support Tinycast through contributions and donations. 💜🌱🌐